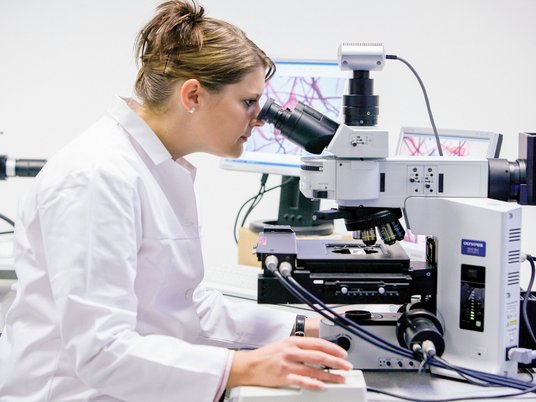
Digital microscopy
Article number:
510213
Norm:
keine
Use: What is determined with this method?
- Generation of 2D images with coaxial or ring light, edge lightning possible too
- Generation of colour-coded 3D images, surface profiles
- Determination of heights, lengths, areas and angles of specific surface structures
Measuring range
- Magnifications:
- Range: 250x, 300x, 500x, 1000x, 1500x, 2000x, 2500x
- Viewing angle: ± 89°
- Resolution:
- vertical: 1200 pxl
- lateral: 1600 pxl
- max. measuring area (at lowest magnification): 1,2 mm x 0,9 mm
- max. measuring area (at highest magnification): 120 µm x 90 µm
Evaluation possibilities: What is evaluated with this method?
- Surface topography
- Heights / depths of surfaces
- Lengths and angles of surface structures
- Layer thickness (cross-section samples)
Examples of application of the method by material
- Characterisation of surfaces of all types of materials possible (e.g. paper, cardboard, plastic coatings, metal etc.)
- Different light sources for different requirements
- Coloured 3D representation of surfaces, e.g. embossing, printed electronics
- Evaluation of printed products
- Quality assurance, evaluation of surface artefacts
What insights do customers gain about your products/samples with this method?
- Information about surface smoothness or roughness (not evaluated)
- Changes in dimensional parameters (length, width, height) depending on different treatments
- Quality assessment of surfaces and determination of surface defects after the manufacturing process (influences of raw material and process parameters), quality of coatings etc.
In which company or process area are these methods applied?
- Company: Product development, research, QA
Which problems can this method solve / recognise at the customer?
- Solving surface-related problems by evaluating and interpreting pictures
- process-related interpretation of surface phenomena
- Raw material related interpretation of surface phenomena
- exact determination / measurement of dimensional quantities (length, width, height) and angles of objects and surface structures
- Error analysis of surface artefacts or processing problems (blistering of coating, cracks, pinholes, folds/creases, misprints, etc.)


